If you know me at all, you know I'm anti-running and pro-walking (but that's a post for another time). That said, I didn't know what else to call this project in order for people to find it in a search.
I am an avid walker and I have a few, um, let's call them "quirks". When I exercise, or am hard at work at anything really, I can't stand any hair touching my face or my neck and I carry weights so I can't carry my keys, etc. I also am a middle-aged mom so I worry about every single awful thing that could happen to a person in generally any given situation. I am scared to death to go for a walk without my keys, phone, debit card and a photo ID.
Carrying a bag that bangs against my hip while I walk is out of the question.
Jingling my keys while I walk? Nuh-uh.
I also can't reconcile myself with the idea of a fanny pack either.
I found the perfect solution online called a FLIPBELT. As soon as I saw the $30 price tag I couldn't help but think I could make one cheaper and have it faster than the time it would take to be shipped to my house. I also liked the idea that if I lost weight I could take it in a bit.
So this is my super easy version of the FLIPBELT. Check out my other post on my version of Sweaty Bands.http://appalpie.blogspot.com/2014/09/no-slip-headband.html
STEP 1: Cut Out the Fabric
Measure where you want to wear the belt (your waist or hips). Take that number and add an inch to two inches for a seam allowance. Decide how tall you want your belt (I made mine 4"). Take that number and double it and add a seam allowance. Mine was 9". So my belt was 9" tall by my body measurement plus 1".
STEP 2: Put in the Zipper
Find the middle of your fabric and find the middle of your zipper. Match up the middle points and pin the zipper in place. Line up the edge of the right side of the fabric and right side of the zipper. Sew the zipper down pretty close to the teeth.
 |
| Sew down the zipper right sides together. |
 |
| Sew down the fabric so it doesn't wind up caught in the teeth. |
 |
| back side of zipper |
Starting at the ends of the zipper, pin together the belt with right sides together. Sew.
STEP 4: Sew Up the Ends
 |
| Sewing up the length of the belt. |
Here's the tricky part. *UNZIP THE ZIPPER BEFORE YOU BEGIN THIS STEP.*
Pin together the right sides all the way around in a circle, starting at the seam.
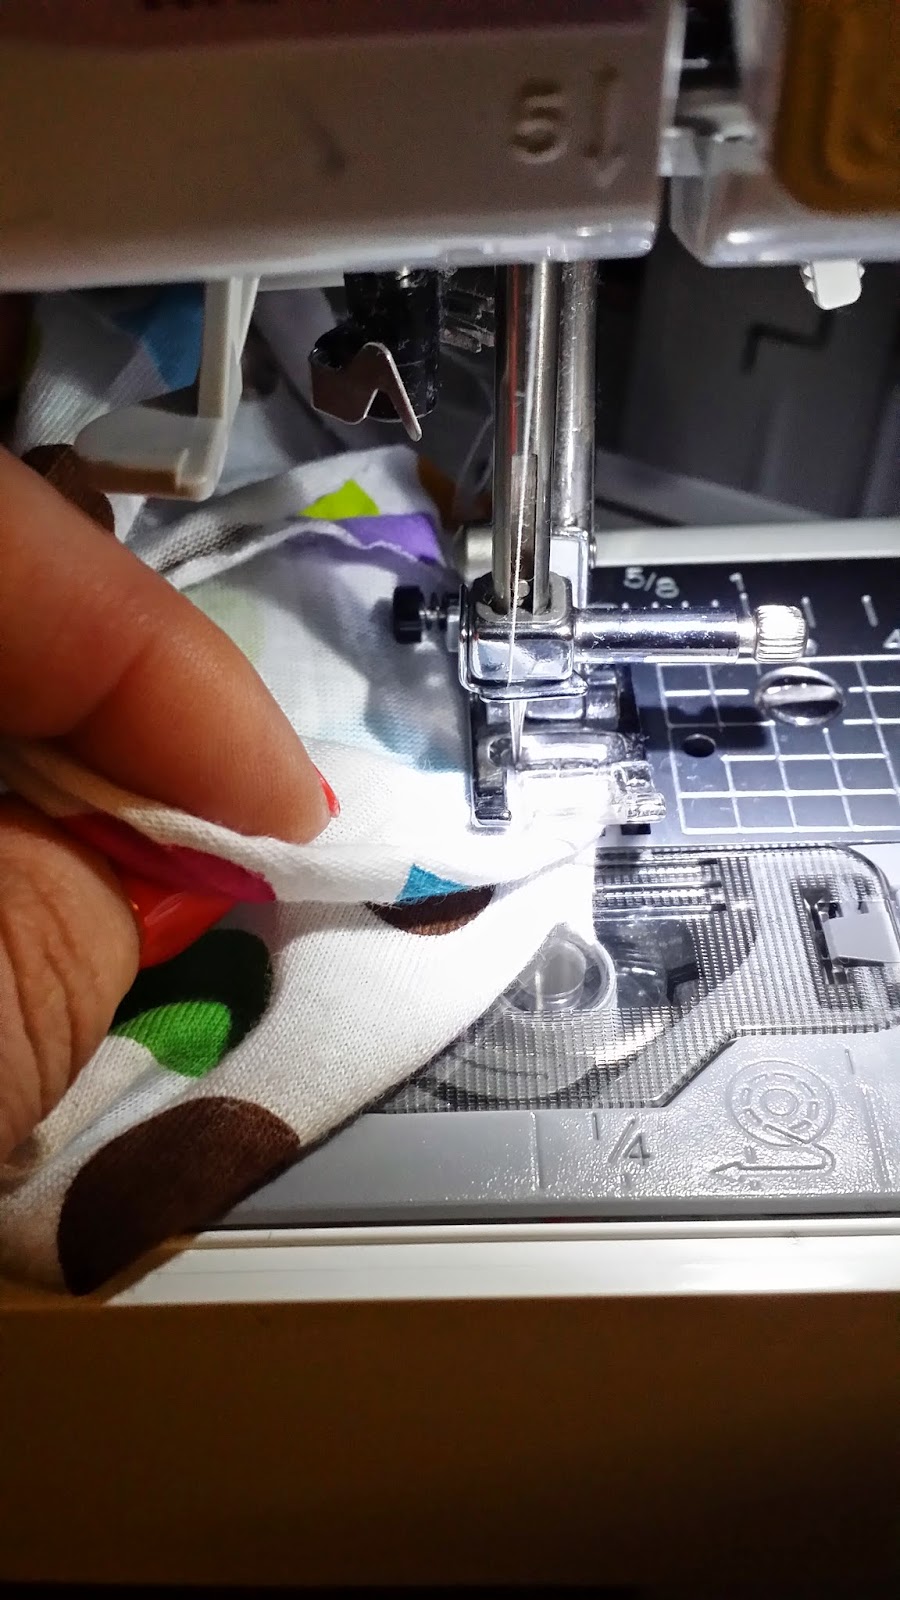
Sew around the circle.
When you get to where you can't get all the way around, stuff the fabric through the hole to complete the circle.
 |
| Starting at the seam, pin right sides together. |
 |
| Start to sew around the circle. |
 |
| Stitch as far as you can. |
 |
| Stuff the fabric inside the remaining hole and finish stitching it shut. |
When you're done sewing, it'll look just like this.
 |
| Finished sewing! |
Unwad the unsewn end of your bundle and you'll see your belt is finished and just inside out. Turn it right side out and you're ready to go!
 |
| Finished belt! |
NOTES:
I used stretchy cotton and they use spandex. I chose cotton because I figured it wouldn't roll when I bent over. It doesn't, but I popped a few threads pulling it over my hips. In hindsight, if I make more I'll be making them out of spandex.
No comments:
Post a Comment
Thanks so much for taking time to read and comment. As soon as I make sure its not mean or spam, I will post it!